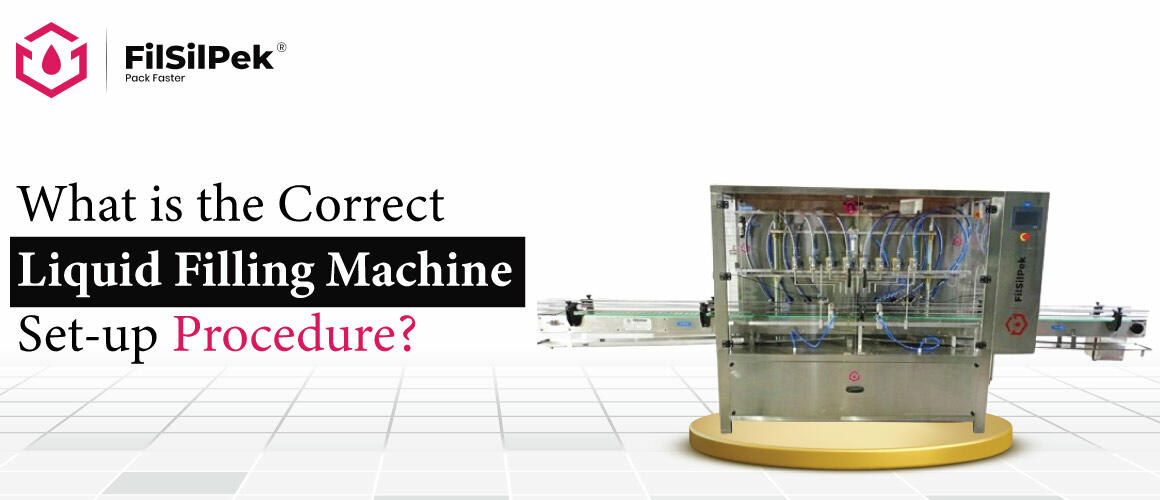
What is the Correct Liquid Filling Machine Set-up Procedure?
Setting up a liquid filling machine might seem like a technical chore, but it’s the backbone of efficient production. Whether you’re filling bottles with beverages or toiletries, getting the setup right ensures smooth operation and high-quality results.
Let’s understand the essential steps to correctly set up your liquid filling machine for flawless performance.
8 Steps to Set-up your Liquid Filling Machine
1. Prepare Your Workspace
Good beginning is always half done. Same thing applies here too. Before you start, ensure your workspace is clean and organized. Any contaminants or bottlenecks could affect the quality of your product or even damage the machine. So, before getting started, make sure you clear the area and gather all necessary tools and materials.
2. Choose the Right Machine Settings
Liquid filling machines come with various settings depending on the viscosity and volume of the liquid you’re working with. Each use case and product category needs specific settings to be used. First understand the use case and product, the material to be filled and then accordingly adjust settings such as fill volume, speed, and nozzle size according to your product specifications. This ensures accurate filling without spills or overflows.
3. Calibrate Sensors and Controls
Modern filling machines often feature sensors and digital controls to optimize performance. Calibrate these according to manufacturer guidelines. This step is crucial for maintaining accuracy and preventing errors during operation.
4. Check and Adjust Conveyor Height
If your filling machine is integrated into a production line, ensure the conveyor height aligns perfectly with the filling nozzles. This prevents splashing or uneven filling as containers move through the line.
5. Get Your Machine Ready
Before starting production, get the machine ready by running a few cycles with water or a test liquid. This clears any air bubbles from the system and ensures all components are functioning properly. If required, adjust settings as necessary based on the test results.
6. Monitor and Fine-Tune
Once production begins, keep a close eye on the machine’s performance. Monitor fill levels, inspect seals and connections for leaks, and adjust settings if any issues arise. Regular maintenance and fine-tuning ensure consistent output and extend the machine’s lifespan.
7. Clean and Sanitize Regularly
After each production run or as per your hygiene protocol, clean and sanitize the machine thoroughly. Residue buildup can lead to contamination and affect product quality. Follow manufacturer recommendations for cleaning agents and procedures.
8. Train Operators
Lastly, ensure operators are trained in the setup and operation of the filling machine. Proper training reduces the risk of errors and ensures safety protocols are followed at all times.
Let’s keep those bottles flowing smoothly!
So there you have it—setting up your liquid filling machine isn’t rocket science, but it’s the key to smooth sailing in your production line. From cleaning your workspace to tweaking those settings just right, every step counts towards perfect fills every time.
Ready to give it a shot? Start with these simple steps and see the difference it makes in your operations. Got any questions or want to share your own setup tips? Don’t hesitate to call our experts or drop a comment below!
Why is packaging accuracy important in developing nutraceutical oil products?
Nutraceutical oils have carved out a strong space in health-conscious markets, offering benefits…
Why are biofuel packagers turning to edible oil filling lines for cleaner repackaging of used cooking oil for reuse?
The shift toward sustainable energy sources has placed used cooking oil (UCO) in the…
How do Ayurvedic oil brands preserve aroma and viscosity with automatic filling?
Ayurvedic oils carry more than just herbal ingredients—they are a blend of tradition, delicate aromas, and therapeutic richness…


